
Troubleshoot Unstable Charging to Eliminate Loose Port Issues
 Oale Team
Take a second to check your phone now—does your charger keep falling out, or does charging take way longer than it should? You’re far from alone with this issue.
Read on for easy, actionable fixes. Every step below helps you figure out what ruins your charging speed and connection.
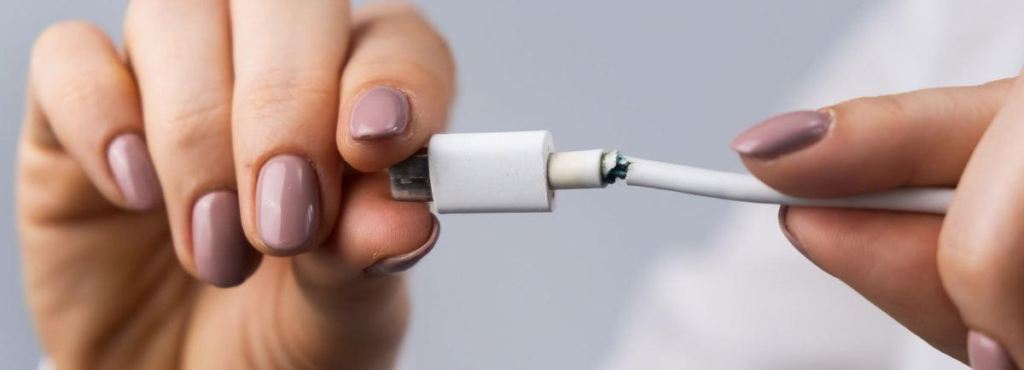
🔌 Step 1: Tell Apart Cable Faults and Damaged Charging Port
Wrong charging accessories are often mistaken for broken port hardware.
- Prepare multiple certified charging cables and charging adapters for cross testing.
- If every cord gets loose or charges slowly, the fault lies in your phone’s charging port.
- If only one single cable fails while others work well, you just need to replace the defective wire.
Note: Low-quality cheap cables will cause unstable connection, so always use matching standard charging lines.
🧹 Step 2: Clean Dust and Lint Blockages Inside the Charging Port
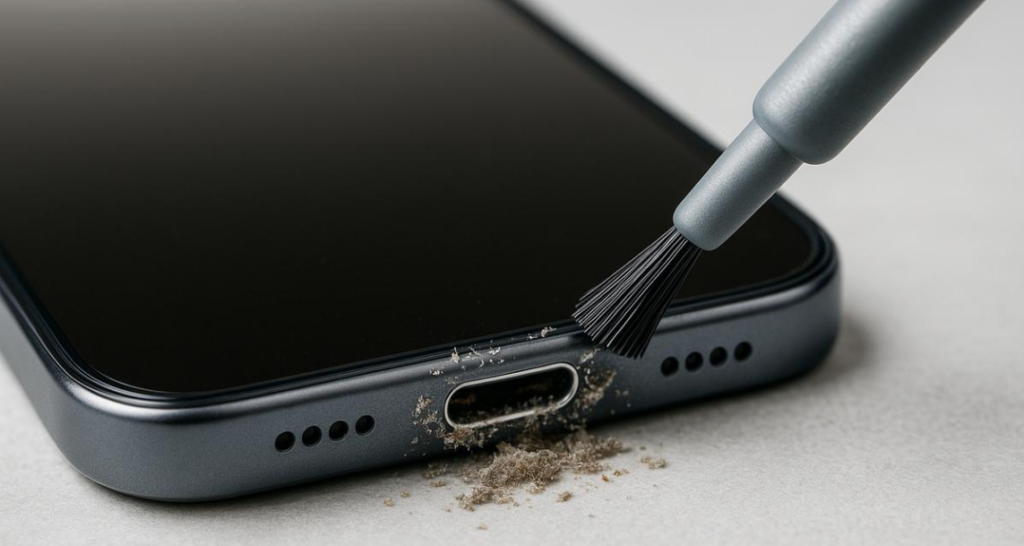
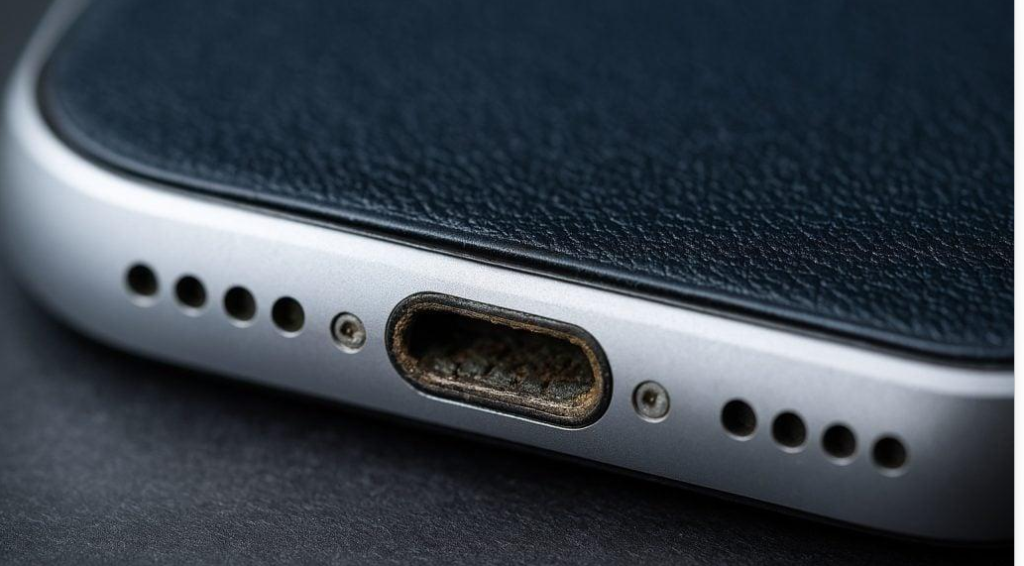
Dust, lint and tiny debris stuck in the port gap are the top reason for loose contact and reduced charging speed.
- Fully power off your phone before any cleaning work to avoid short circuits.
- Use a soft wooden toothpick or anti-static mini brush to gently sweep out dirt.
- Never use metal pins or sharp metal tools, which will scratch internal metal contacts permanently.
Note: Do not blow hard into the port with your mouth, as moisture will lead to metal oxidation.
⚙️ Step 3: Optimize System Settings to Boost Charging Efficiency
Lots of power-consuming background functions slow down charging progress.
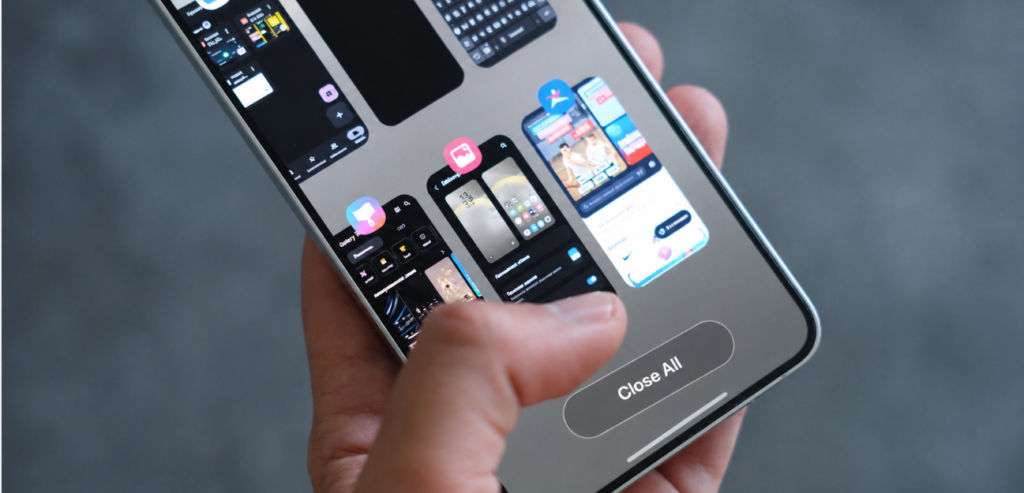
- Go to app management and force close idle apps running in the background.
- Turn off background auto-refresh, mobile hotspot and high screen refresh rate while charging.
- Disable always-on display and live wallpapers to cut extra power loss.
Note: Using your phone for gaming or video playback during charging will greatly lower charging speed.
📱 Step 4: Check Interference From Thick or Ill-Fitting Phone Cases
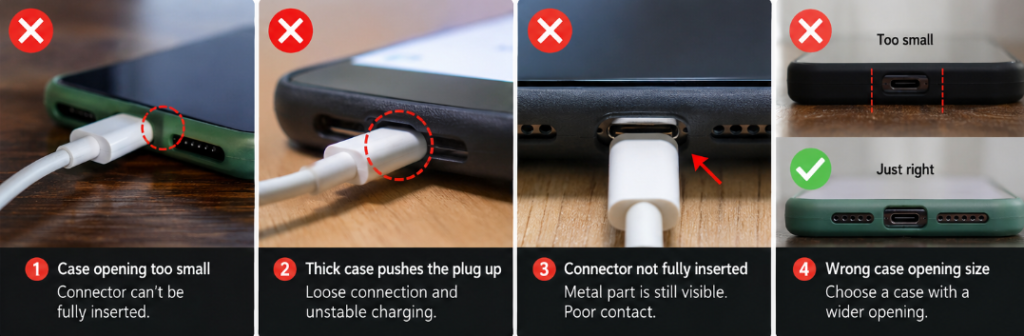
Many protective shells squeeze the charging plug and stop it from fully inserting into the port.
- Take off your phone case completely, then plug in the charger and test charging stability.
- If the connection works smoothly without the case, your shell is blocking the charging port.
- Switch to a thin protective case with a wide, precise cutout for the charging port.
Note: Thick phone cases may prop up the charging plug and lead to unstable charging contact.
💧 Step 5: Emergency Treatment for Water Oxidation Causing Intermittent Charging
Liquid splashes will rust the metal terminals inside the port and trigger unstable charging.
- Power down the phone right away once it gets wet, and stop charging immediately.
- Wipe the charging port dry with absorbent tissue or lint-free cloth.
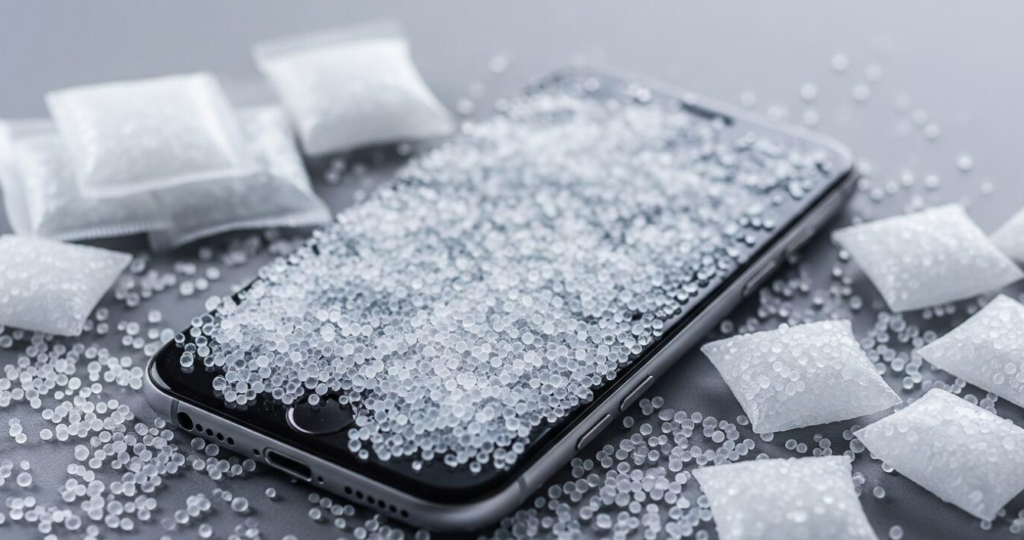
- Place the device in dry rice or silica gel desiccant for 24 to 48 hours to remove all residual moisture.
Note: Do not plug in the charger before the port is totally dry, or hardware short-circuit damage mayhappen.
🛠️ Step 6: Judge Hardware Damage and Learn Maintenance Advice
If all above fixes fail, your charging port has suffered permanent hardware damage.
- Signs of broken port shrapnel: cables fall out instantly, charging cuts on and off randomly.
- Simple cleaning and setting adjustments cannot fix deformed or cracked internal metal parts.
- Send your phone to a professional repair store to replace the full charging port module for steady charging performance.
Note: Delayed maintenance will worsen the damage and may even affect the phone’s battery circuit.
Did these DIY steps help solve your loose port issue? Minor daily care can greatly extend the service life of your charging port. Drop a comment and tell us which trick worked best for you!